

 Tweet
Tweet
The PolyShed... Part 1
Hi gang... have posted this on KG too as it was there that I mentioned I was gonna build a PolyShed. a couple of people showed interest so i thought i would put together a post of what i did and what i ended up with.
This is so others can copy the idea etc or see how they can modify what they have to achieve the same...
The idea behind this was that Polytunnels are a want for a good few veg gardeners but normally the space is the bit that spoils the dream.
Others have also posted about homemade polytunnels but i wanted to build something as cheaply as pos using stuff I already had or stuff I got on the cheap/free.
the stuff i had list...
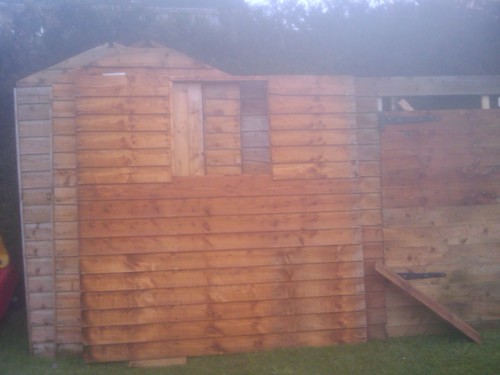
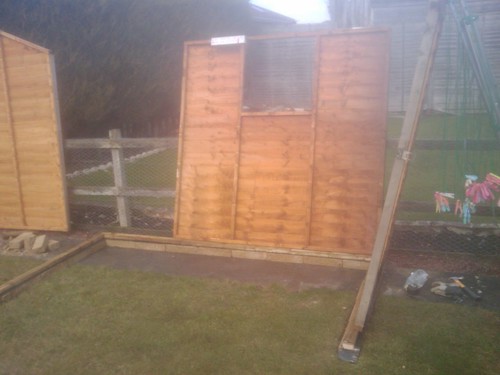
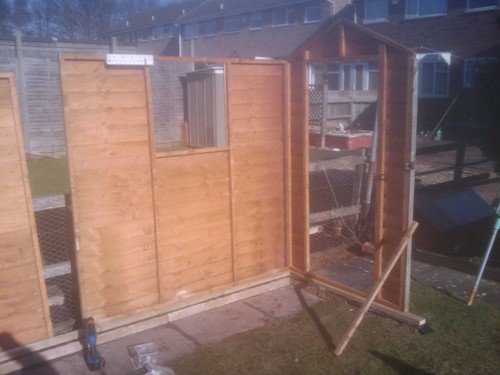
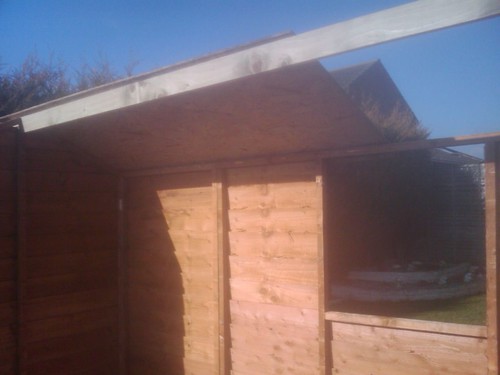
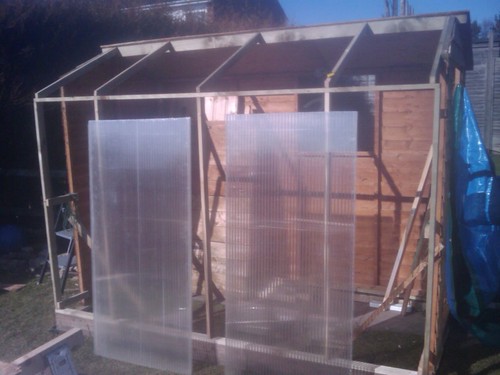
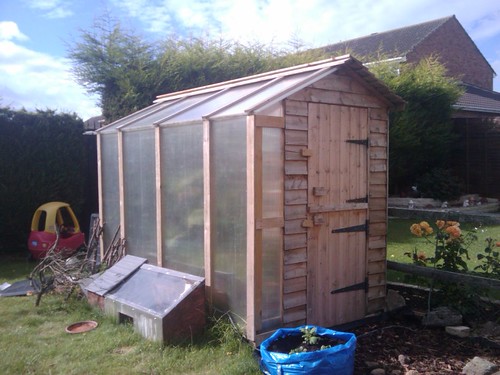
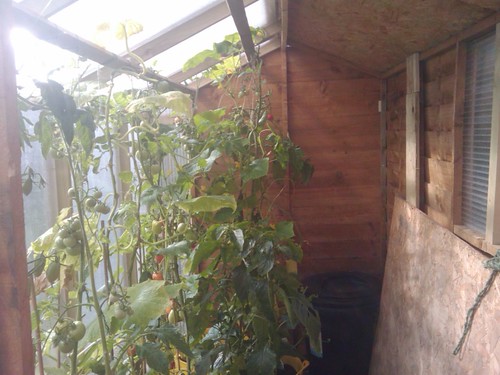
I had been given an old 6x4 shed that had been modified to take a scooter. this ment that one of the long sides had had a door added to it so its usability had been halved in length and due to how it was done repairing it would have been hard work and then would have left me with a Shed...
I didn't want a shed I wanted a PolyShed...
I have an old Lexan conservatory roof. it was actually brand new as when it was made it was an inch too small so was left and another made. I bought this of Ebay... it came with the metal trusses etc and plastic trims though i wasn't gonna use these as i wanted a more natural kitchen look so was gonna use wood. I found this on Ebay by using this site
local bargain finder
which when you punch in your details it finds all stuff in your area that is pick up only etc. bargains can be had from here so thank me later lol...an example of bargains would be the roof.... 99p.
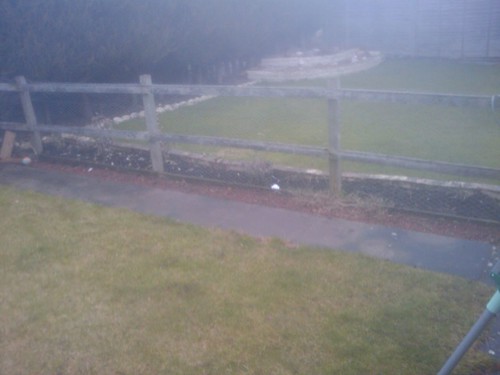
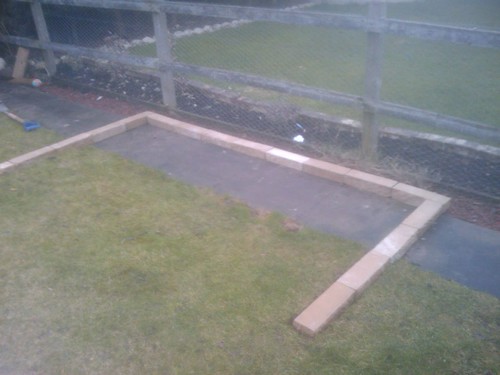
I had a bundle of old bricks that were from our 1970's swanky fire surround. I kept these to put the shed on so it wasn't direct on the ground.
and a length of 5x3 left over from the raised beds i did for last year.
what i needed to buy...
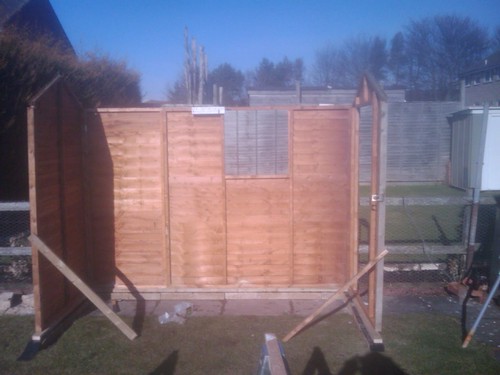
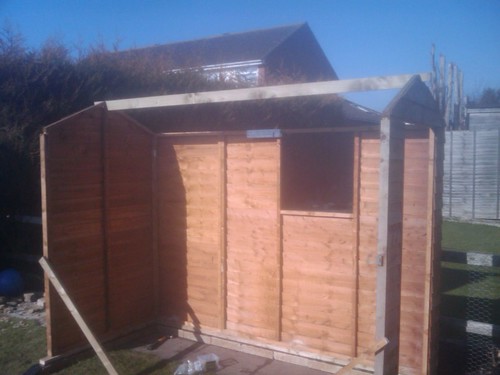
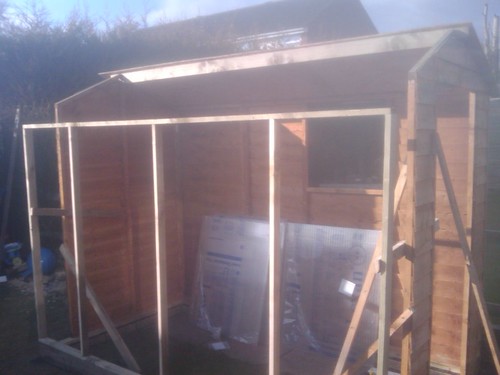
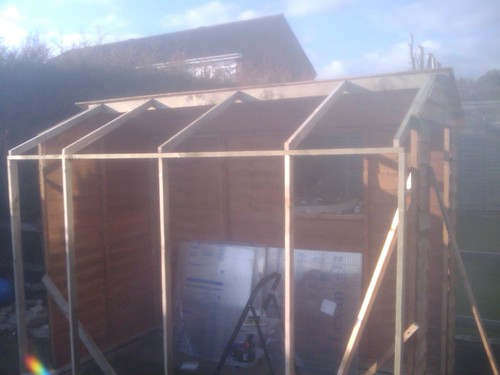
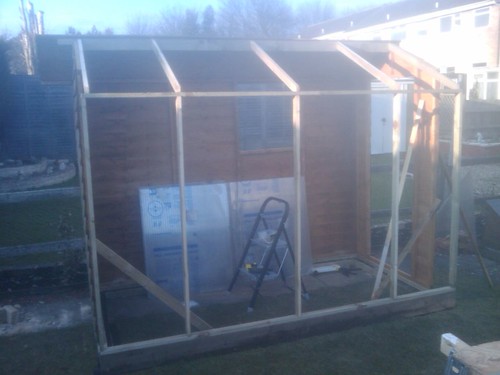
would be abit of wood to make the framework for the Poly side of the PolyShed and also for a Ridgebeam.
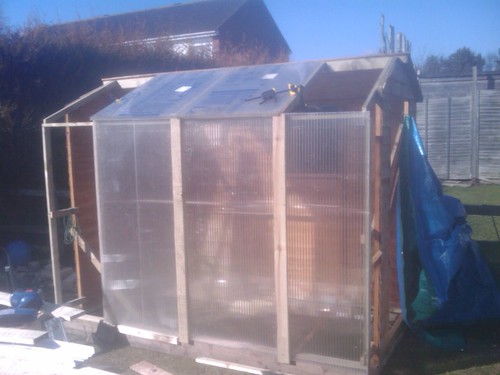
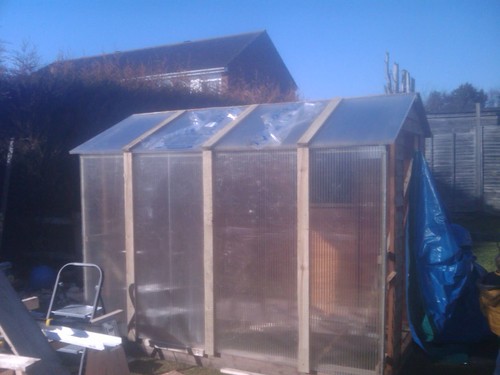
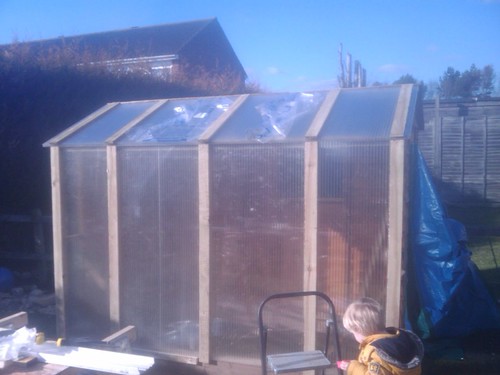
After looking into what to cover one side of the roof with I decided to do that with wood too, i couldn't get any felt cheap (and B&Q wanted �18 for 15m when i needed about 2-3m) and the corrogated sheets were a little more so I got some 6 x 5/8 boards as used for fences etc and decided to use them on the roof overlapping and i could also use them for trimming up and holding the Lexan in place.
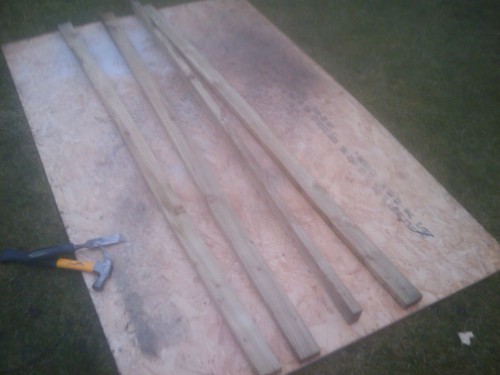
I got all the wood from a local Timber Yard for the cheap price of �38.
10 of 6x5/8 boards @3.6m long (for the roof and other trimming up)
6 of 2x1" pressure treated battens @3.6m long (for framing etc)
1 of 3x1" pressure treated batten @3.6m long (for the ridge beam)
and screws... which i already have and buy all the time so don't count as a cost but it might be �5 worth...
so the total cost is about �44.
Right on to the Build.
Hi gang... have posted this on KG too as it was there that I mentioned I was gonna build a PolyShed. a couple of people showed interest so i thought i would put together a post of what i did and what i ended up with.
This is so others can copy the idea etc or see how they can modify what they have to achieve the same...
The idea behind this was that Polytunnels are a want for a good few veg gardeners but normally the space is the bit that spoils the dream.
Others have also posted about homemade polytunnels but i wanted to build something as cheaply as pos using stuff I already had or stuff I got on the cheap/free.
the stuff i had list...
I had been given an old 6x4 shed that had been modified to take a scooter. this ment that one of the long sides had had a door added to it so its usability had been halved in length and due to how it was done repairing it would have been hard work and then would have left me with a Shed...
I didn't want a shed I wanted a PolyShed...
I have an old Lexan conservatory roof. it was actually brand new as when it was made it was an inch too small so was left and another made. I bought this of Ebay... it came with the metal trusses etc and plastic trims though i wasn't gonna use these as i wanted a more natural kitchen look so was gonna use wood. I found this on Ebay by using this site
local bargain finder
which when you punch in your details it finds all stuff in your area that is pick up only etc. bargains can be had from here so thank me later lol...an example of bargains would be the roof.... 99p.
I had a bundle of old bricks that were from our 1970's swanky fire surround. I kept these to put the shed on so it wasn't direct on the ground.
and a length of 5x3 left over from the raised beds i did for last year.
what i needed to buy...
would be abit of wood to make the framework for the Poly side of the PolyShed and also for a Ridgebeam.
After looking into what to cover one side of the roof with I decided to do that with wood too, i couldn't get any felt cheap (and B&Q wanted �18 for 15m when i needed about 2-3m) and the corrogated sheets were a little more so I got some 6 x 5/8 boards as used for fences etc and decided to use them on the roof overlapping and i could also use them for trimming up and holding the Lexan in place.
I got all the wood from a local Timber Yard for the cheap price of �38.
10 of 6x5/8 boards @3.6m long (for the roof and other trimming up)
6 of 2x1" pressure treated battens @3.6m long (for framing etc)
1 of 3x1" pressure treated batten @3.6m long (for the ridge beam)
and screws... which i already have and buy all the time so don't count as a cost but it might be �5 worth...
so the total cost is about �44.
Right on to the Build.


Comment